
Please share!
- You are here:
- Home »
- "Make Your Own" Monday »
- Homemade Facemasks #makeyourownmonday *Updated
Homemade Facemasks #makeyourownmonday *Updated

A few months ago, I’d never dreamed that I’d be sitting down writing a post about making your own facemask, never mind knowing that I had to use one in public. But today it has been announced that face masks are going to be mandatory (this week) not only on public transport but also now in shops in Scotland.
So here’s what I did.
Resources
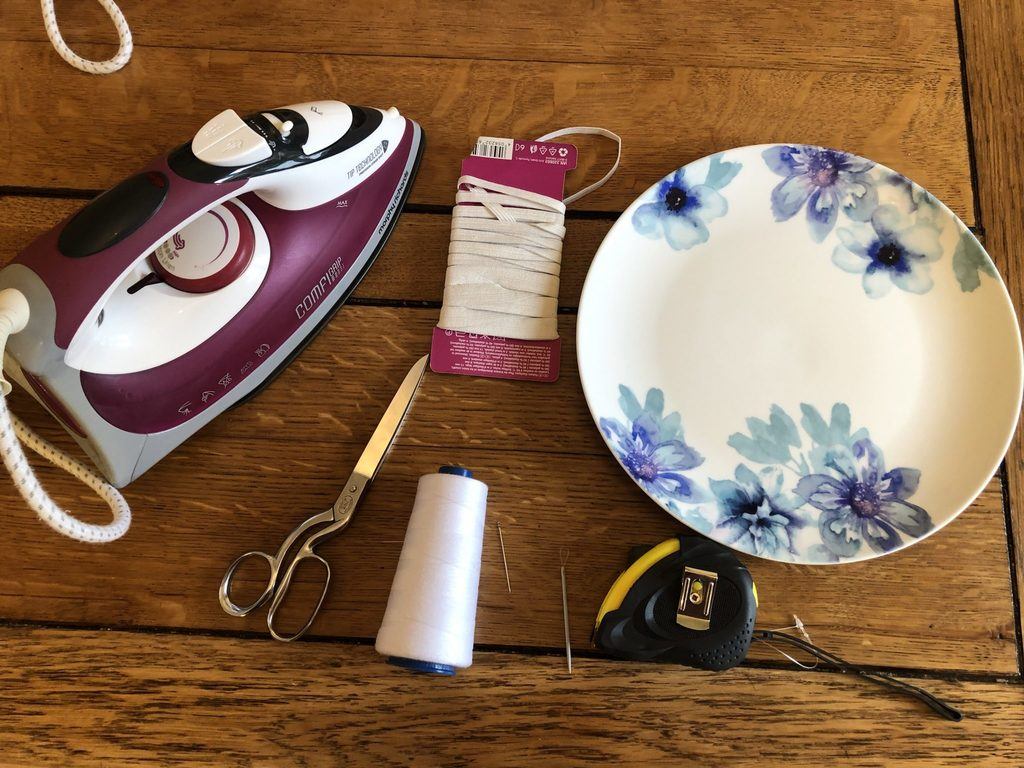
Start by taking some old fabric, preferably something breathable like cotton. I used an old curtain liner.
For an adult, get a plate sized 10-11 inches for an adult, 9 inches for a teenager or 8 inches for a child.
Draw round the plate on your fabric and cut out.
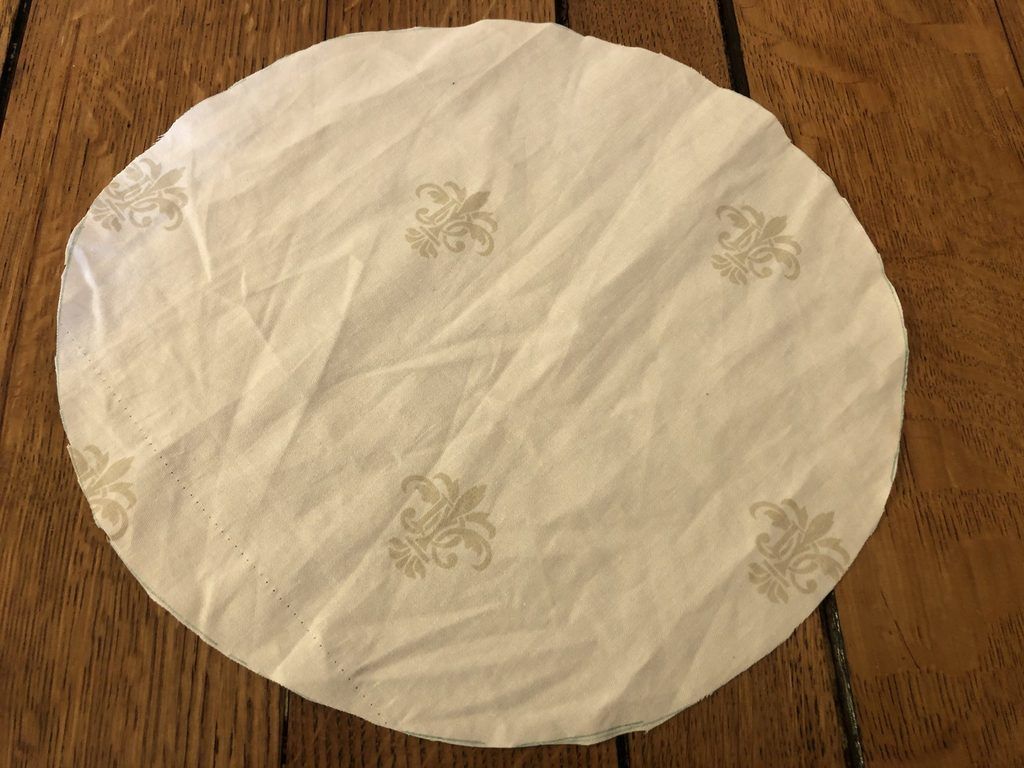
Fold the circle into quarters, and cut along the folds.

Place two quarters together, pattern on the inside. Sew along the curved each of your two ‘pizza slices’.
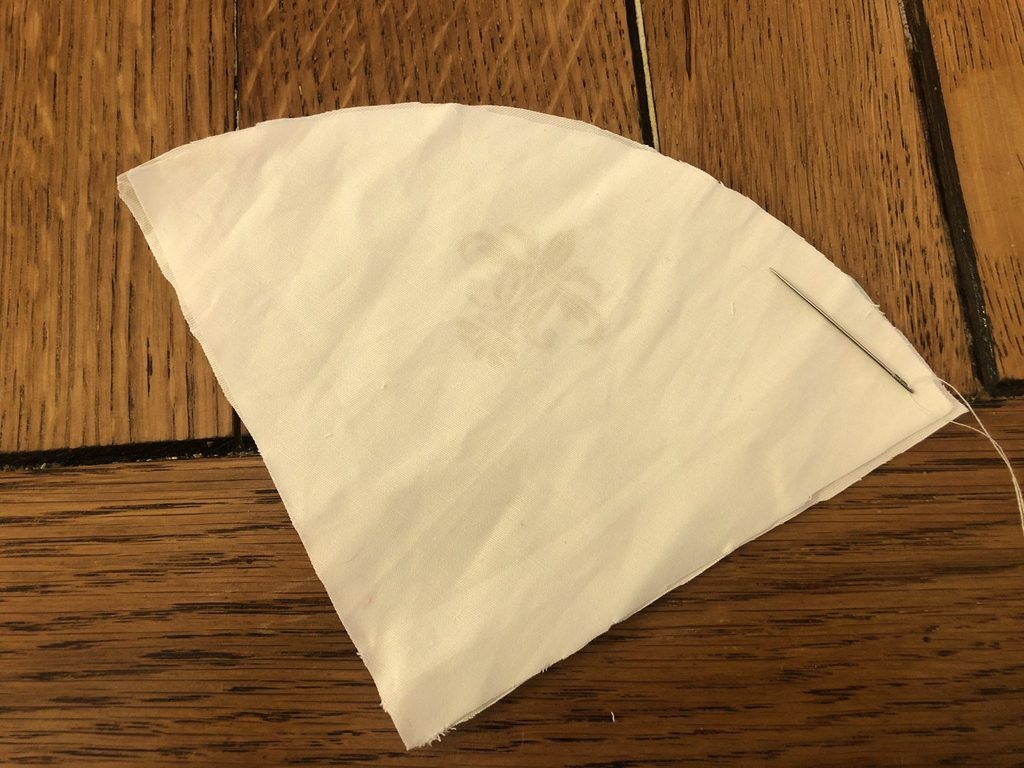
Open up your two ‘wedges’.
Place one opened wedge on top of the other, pattern on the inside.
Sew along all sides, leaving about an inch gap at one corner which you will pull the fabric back through.
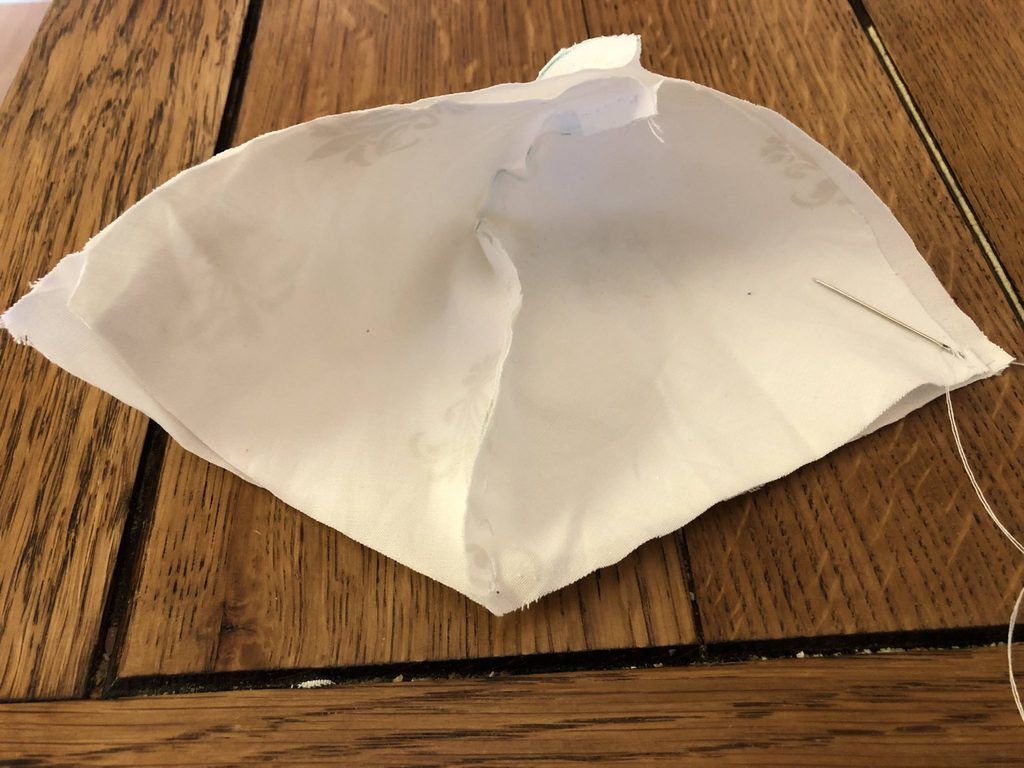
Pull the mask inside out so the pattern is back on the outside.
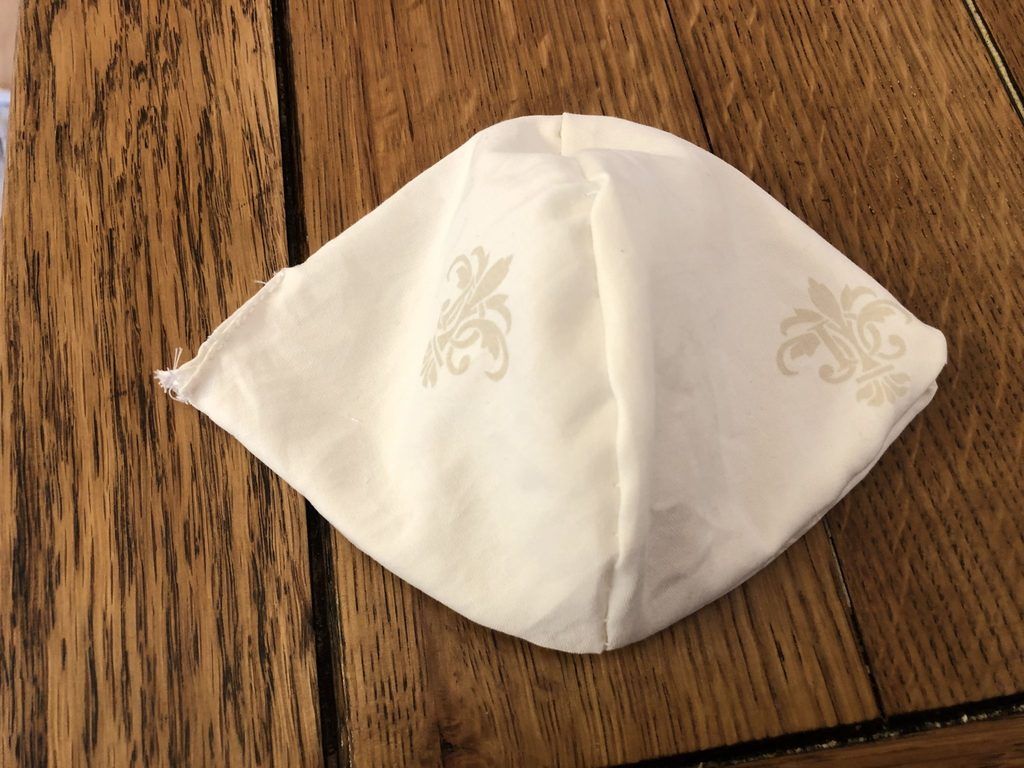
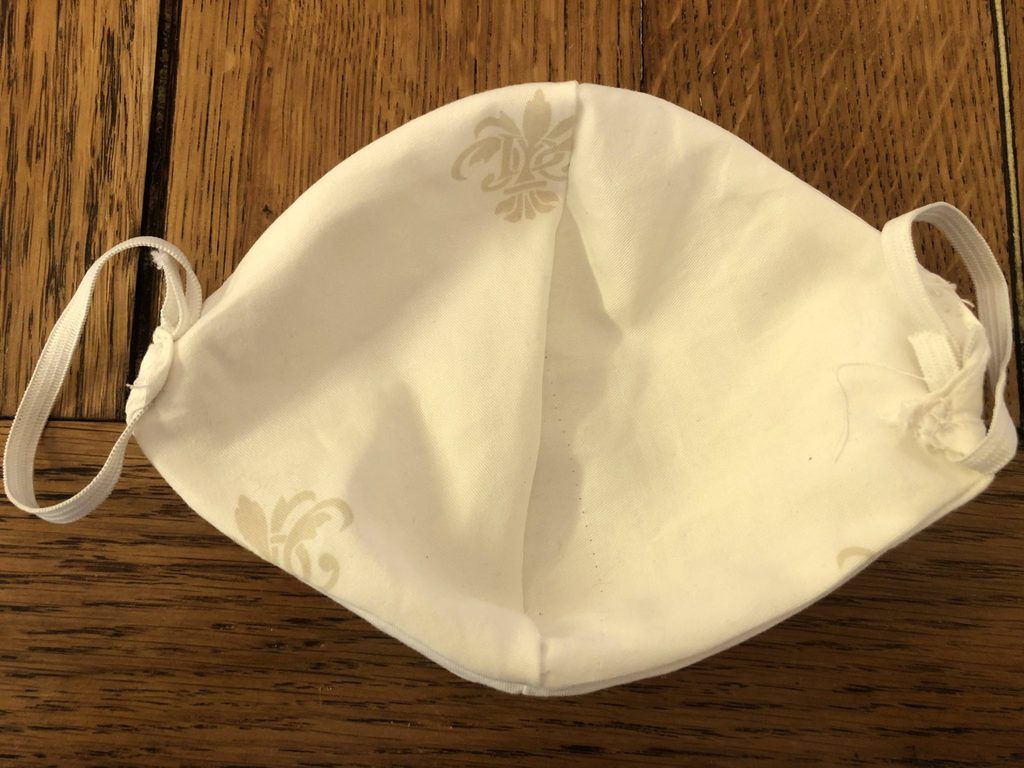
Fold over the two corners about half an inch and sew up. This is to create a pocket to thread through elastic.

Thread elastic through using a needle with a big eye/ push through with a pencil.
For an adult you will need 8 inches elastic, teenager 7 inches and child 6 inches.
In the photo at the top of this article you can see the needle I used. Unfortunately I don’t know the name of it!

And voila! You have yourself a facemask (covering)!
You can wash these in your normal load at 30 degrees. Just remember to wash them often.
I hand sewed my masks, they took me under an hour going slowly and doing other things at the same time. So if you have a sewing machine you could easily knock through several of these quite quickly.
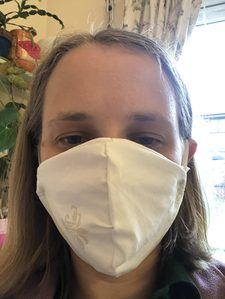
So go on, save the world and save your pocket at the same time. Make yourself some snazzy masks to wear this summer – it’s all the rage!
Send me some photos, I’d love to see your own designs!
*Update – Firstly, I forgot to mention the iron! This is just to make life easier, if you have an iron. Iron the fabric as you fold it. Secondly, after making all three sizes and trying the child and teenager sizes on my kids, I recommend the smallest size for under fives only. Teenager size seems to fit ok for our kids age 5 and 7.

